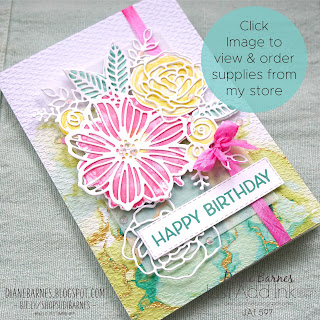
I of course chose flowers and paper creating a pretty floral birthday card for a friend & SU teamie using the Artistically Inked stamp and Artistic die bundle teamed with the coordinating Expression in Ink patterned paper. Take a look.
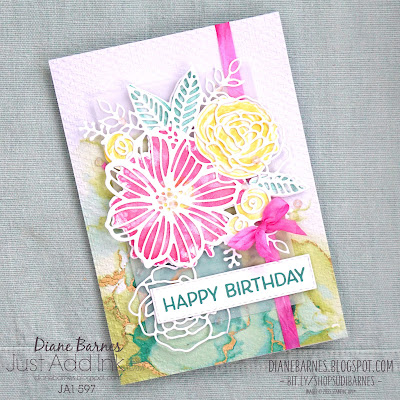
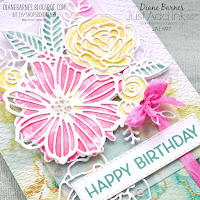
I started by stamping the alcohol ink/watercolour effect flower & leaf images from the Artistically Inked stamp set using Polished Pink, Daffodil Delight & (retiring) Just Jade ink pads. I cut them out with the coordinating Artistic dies, then layered under the fabulous detailed floral die cut.
Artistically Inked is one of our Distinktive™ style sets that create multi-coloured effects with a single image. I should have taken pics of the images before I layered them as there's so much detail - as you can see in the bundle pic below (again click in it for a closer look).
Distinktive stamping Tips:
- A light, even coat of ink gives the best, detailed result with Distinktive images. I used my blending brushes to layer ink onto the stamps rather than inking directly.
- Using your Stamparatus stamp positioner enables you to add multiple layers of colour to create the final look you want too.
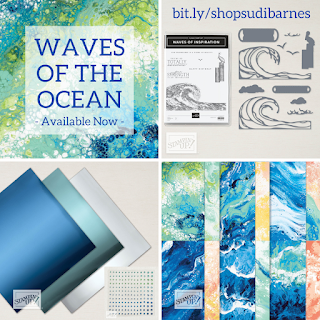
Background elements - I chose a fabulous alcohol ink/watercolour look paper from the Expressions in Ink paper pack with gold veining through it to cover the card front. I embossed this with the (sadly retiring) Tasteful Textile 3d embossing folder (a must) to enhance the watercolour paper look & feel.
The florals are anchored to the paper base with Dimensionals and a rectangle vellum die cut with a gorgeous zig zag stitching effect around it - from the retiring Natures Thoughts die set I used on the wreath card I shared last time.
To coordinate with the large flower I coloured white Crinkled Seam Binding ribbon with a Light Polished Pink Stampin Blend marker then roughly added some dark to sections to again created soft multi-shade look.
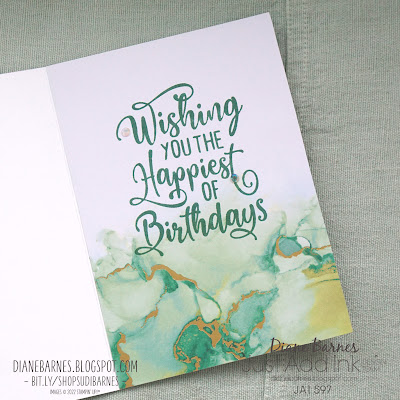
Inside I used another piece of Expression in Ink paper which I stamped with a fave, large birthday sentiment from Happiest of Birthdays stamp set (also sadly retiring - see pic below). Get it before it goes. I feel so luxe using a full piece of gorgeous paper inside.
Find the supplies to make your own version of the card here in my Online store project page. Thanks for visiting. Hope to see you here again soon with a new project.
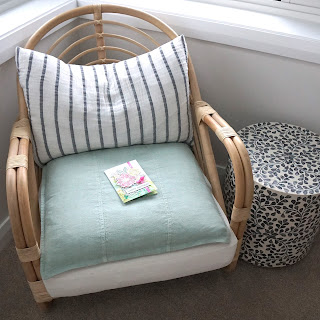
PS: If you'd like a peek look at my 'find some light in the rain' photography challenge for this card, the best spot ended up being on my bedroom chair that sits in beside our large corner windows. And still had to lift the ISO a lot!
.png)






No comments:
Post a Comment